How to Run an OWASP ZAP Vulnerability Scan Online Without Local Installation
Learn how to perform an OWASP ZAP vulnerability scan on any website without installing anything on your computer or relying on untrusted websites. A simple, secure approach to web application security testing.
Video demonstartion
Both videos for local and cloud setup can be found later in the article.
The Compliance Irony
I recently found myself in an ironic and mildly frustrating situation: tasked with performing a yearly OWASP scan as part of a security policy, only to discover that the very same policy prevented me from installing the software needed to run the scan. (Ah, the joys of ISO 27001 compliance, am I right?) As it turns out, the policy prohibits installing software flagged by antivirus programs or sourced from unofficial platforms. Unfortunately, Windows Defender had deemed the ZAPROXY software, which is essential for conducting OWASP vulnerability scans, as unsafe. This left me in a frustrating deadlock, required to complete the scan to comply with the policy, yet unable to install the tool because of that very same policy.
ZAP stands for Zed Attack Proxy, and is The world’s most widely used web app scanner. Free and open source. Anyone can and should use ZAP scans frequently, to detect vulnerabilities.
Alternative ways to run ZAP
Thankfully, ZAP offers their open-source software as a Docker image, which turned out to be a lifesaver. This meant I could simply rent a cloud machine and run the software there instead of on my workstation. By using a cloud instance, I could perform the vulnerability scan of any web application through the ZAP API while staying fully compliant with the policies.
I decided to launch the ZAP Docker image on Railway, which took just a few seconds to spin up. Unfortunately, I hit a roadblock right away. The API wouldn’t work over HTTPS, and Railway’s public URLs don’t allow HTTP. A bit of a showstopper... So, I had to improvise. The only solution I could think of was to create an ultra-simple Node.js app and launch it within the same Railway project. This Node service can then communicate with the ZAP API over Railway’s internal network, which uses the HTTP protocol. With this setup, I was able to use the API, perform the scan, and get the results in "beautiful" unformatted JSON. Job done!
Creating a simple User Interface
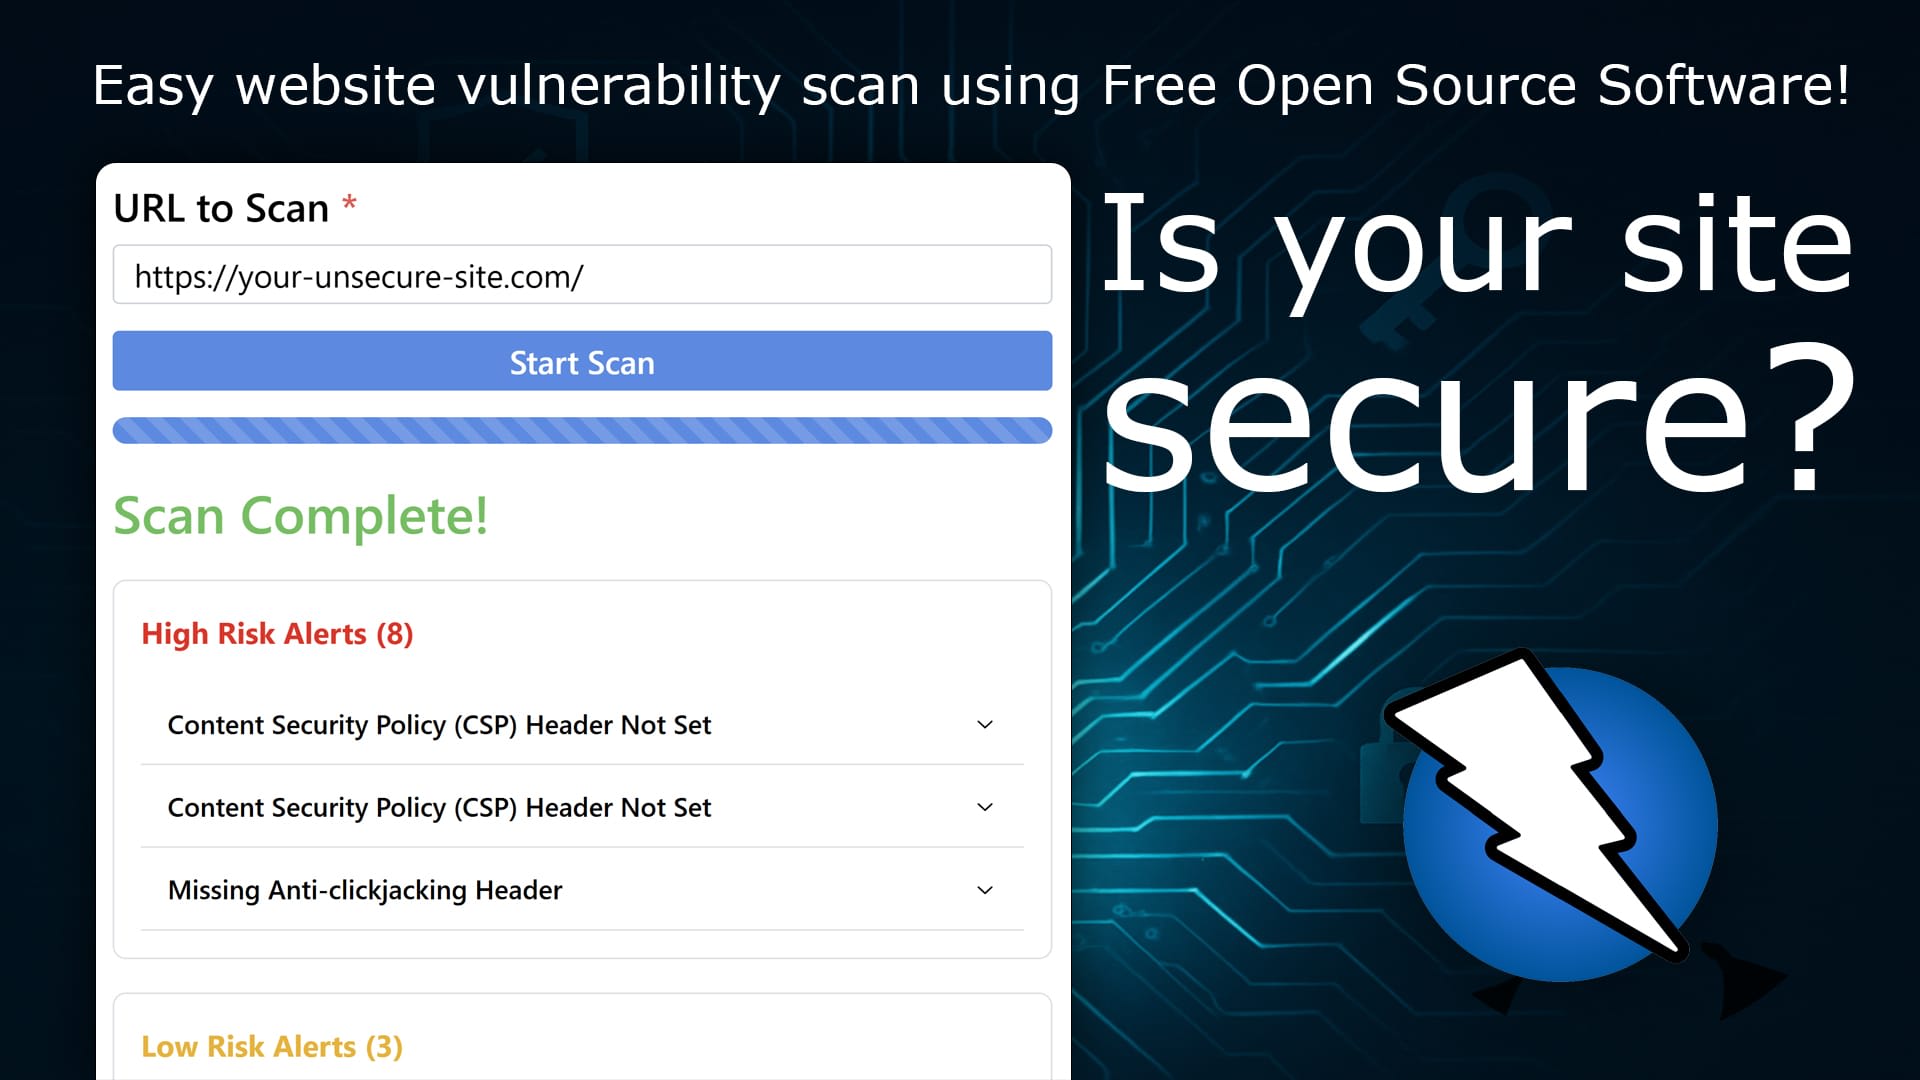
However, being a bit of a perfectionist, I couldn’t help myself. Later the same day, I started building a very simple web interface for the Node.js service. The idea was to make it easier for future scans: next time I need to do an OWASP scan, I can simply visit the web interface, paste in the URL of the website I want to scan, and get the results delivered directly in the browser. In the screenshot below, you can see a preview of the web interface after completing a scan of this very blog.
As you might have noticed from the screenshot, I didn’t stop at creating a simple web interface. I also decided to add a PDF report downloader, so I could save the scan results as evidence for ISO27001 compliance. PDF documents are far easier to digest than raw JSON, so I thought this would be a nice addition. That said, the PDF report service still needs some work on layout and formatting. It’s not exactly a masterpiece, it looks more like something you’d get from a public sector entity, but for now, it gets the job done!
If you’d like to use my app to perform an OWASP scan yourself, I’ve made it incredibly easy. I’ve created a 1-click deploy template that allows you to set up your own exact copy of this project on a cloud machine in just a few minutes. Simply click the purple button further down the page to access the deploy page.
ZAP Hardware Requirement
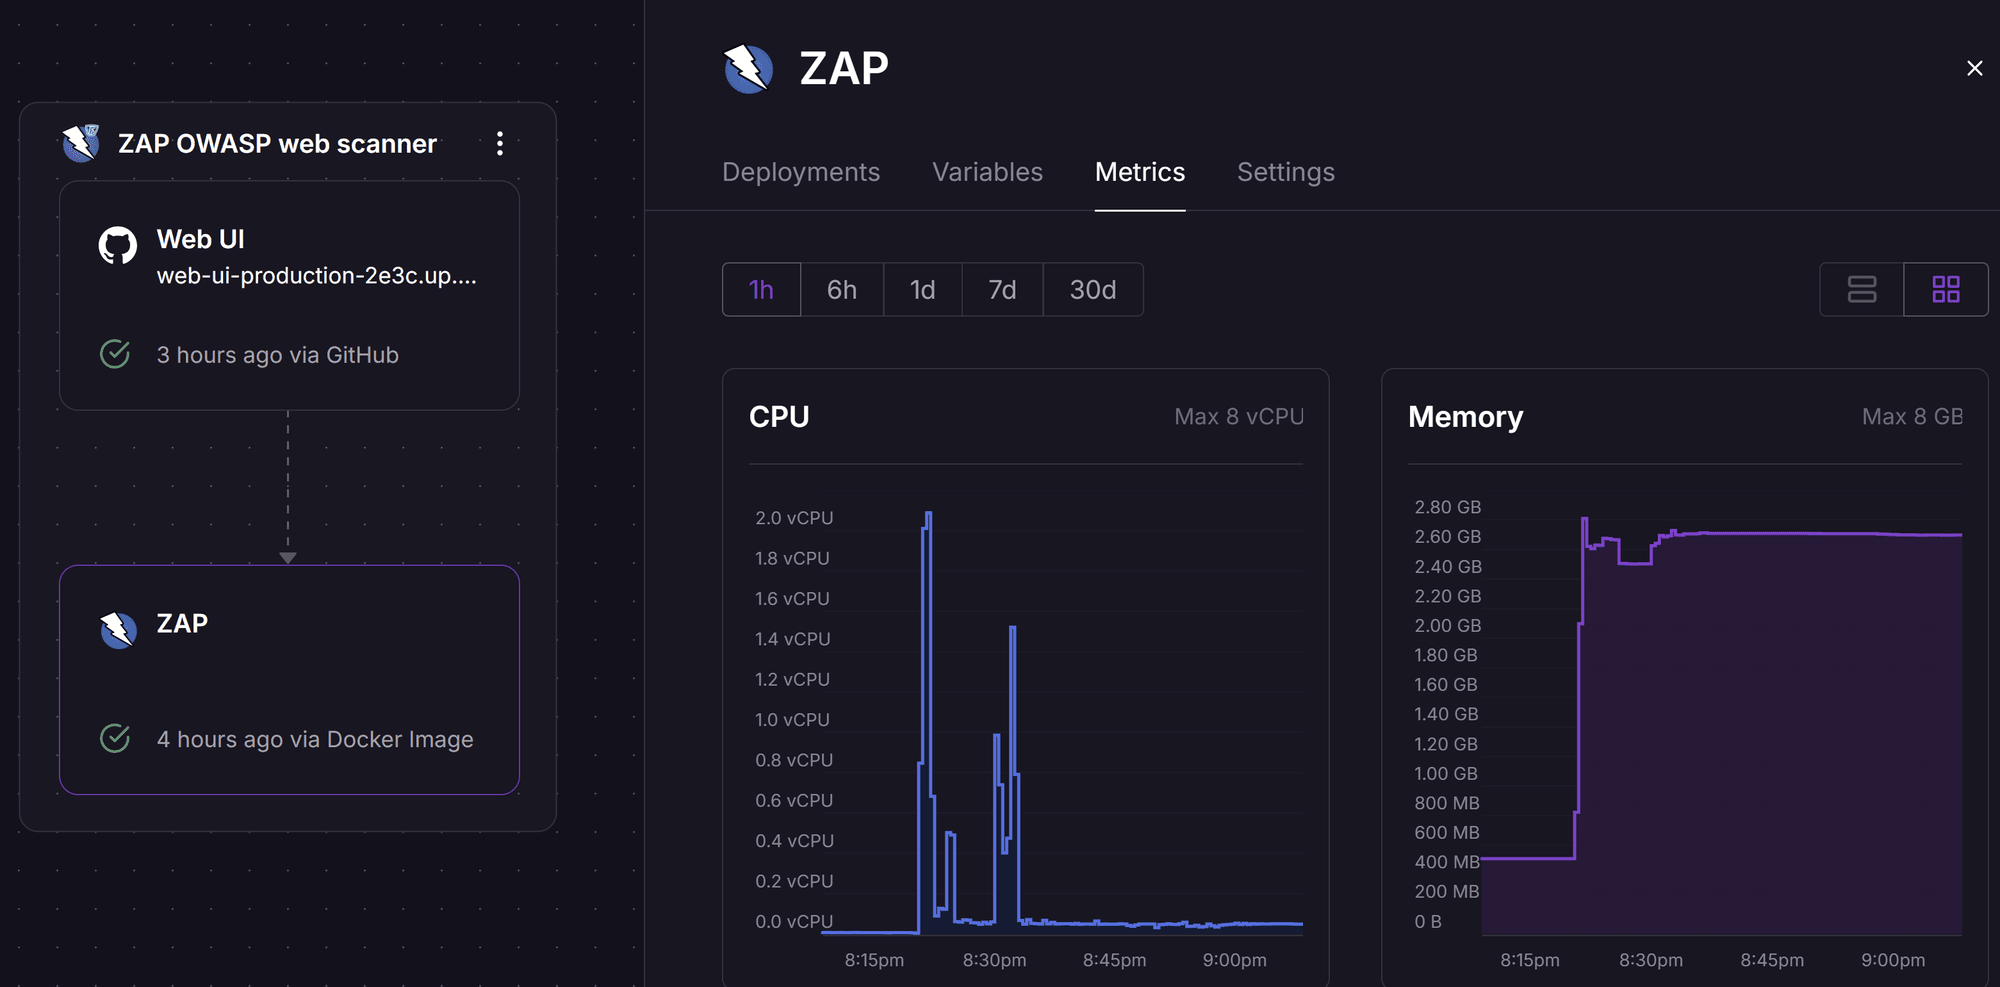
But, before you dive in, I should mention that the ZAP Docker service is quite memory-hungry. It requires at least 2GB of RAM to run, but I’ve seen my instance use up to 4GB after scanning a website, and potentially even more for larger scans. After asking around, I learned this is completely normal; it’s just how ZAP works. For this reason, you likely won’t be able to perform scans on Railway’s free user tier, as it limits services to 500MB of RAM, which, in my testing, isn’t enough to complete a scan. To make it work, you’ll need at least the Hobby plan, which costs $5/month. Below is a screenshot of the resource usage for the ZAP container, where you can see it peaking above 2GB.
How to Deploy and Use the ZAP Scanner
As promised, here’s the link to the deploy template. You’ll need an account to get started, and the easiest way is to sign in with GitHub. Click the button below to go to the deploy page.

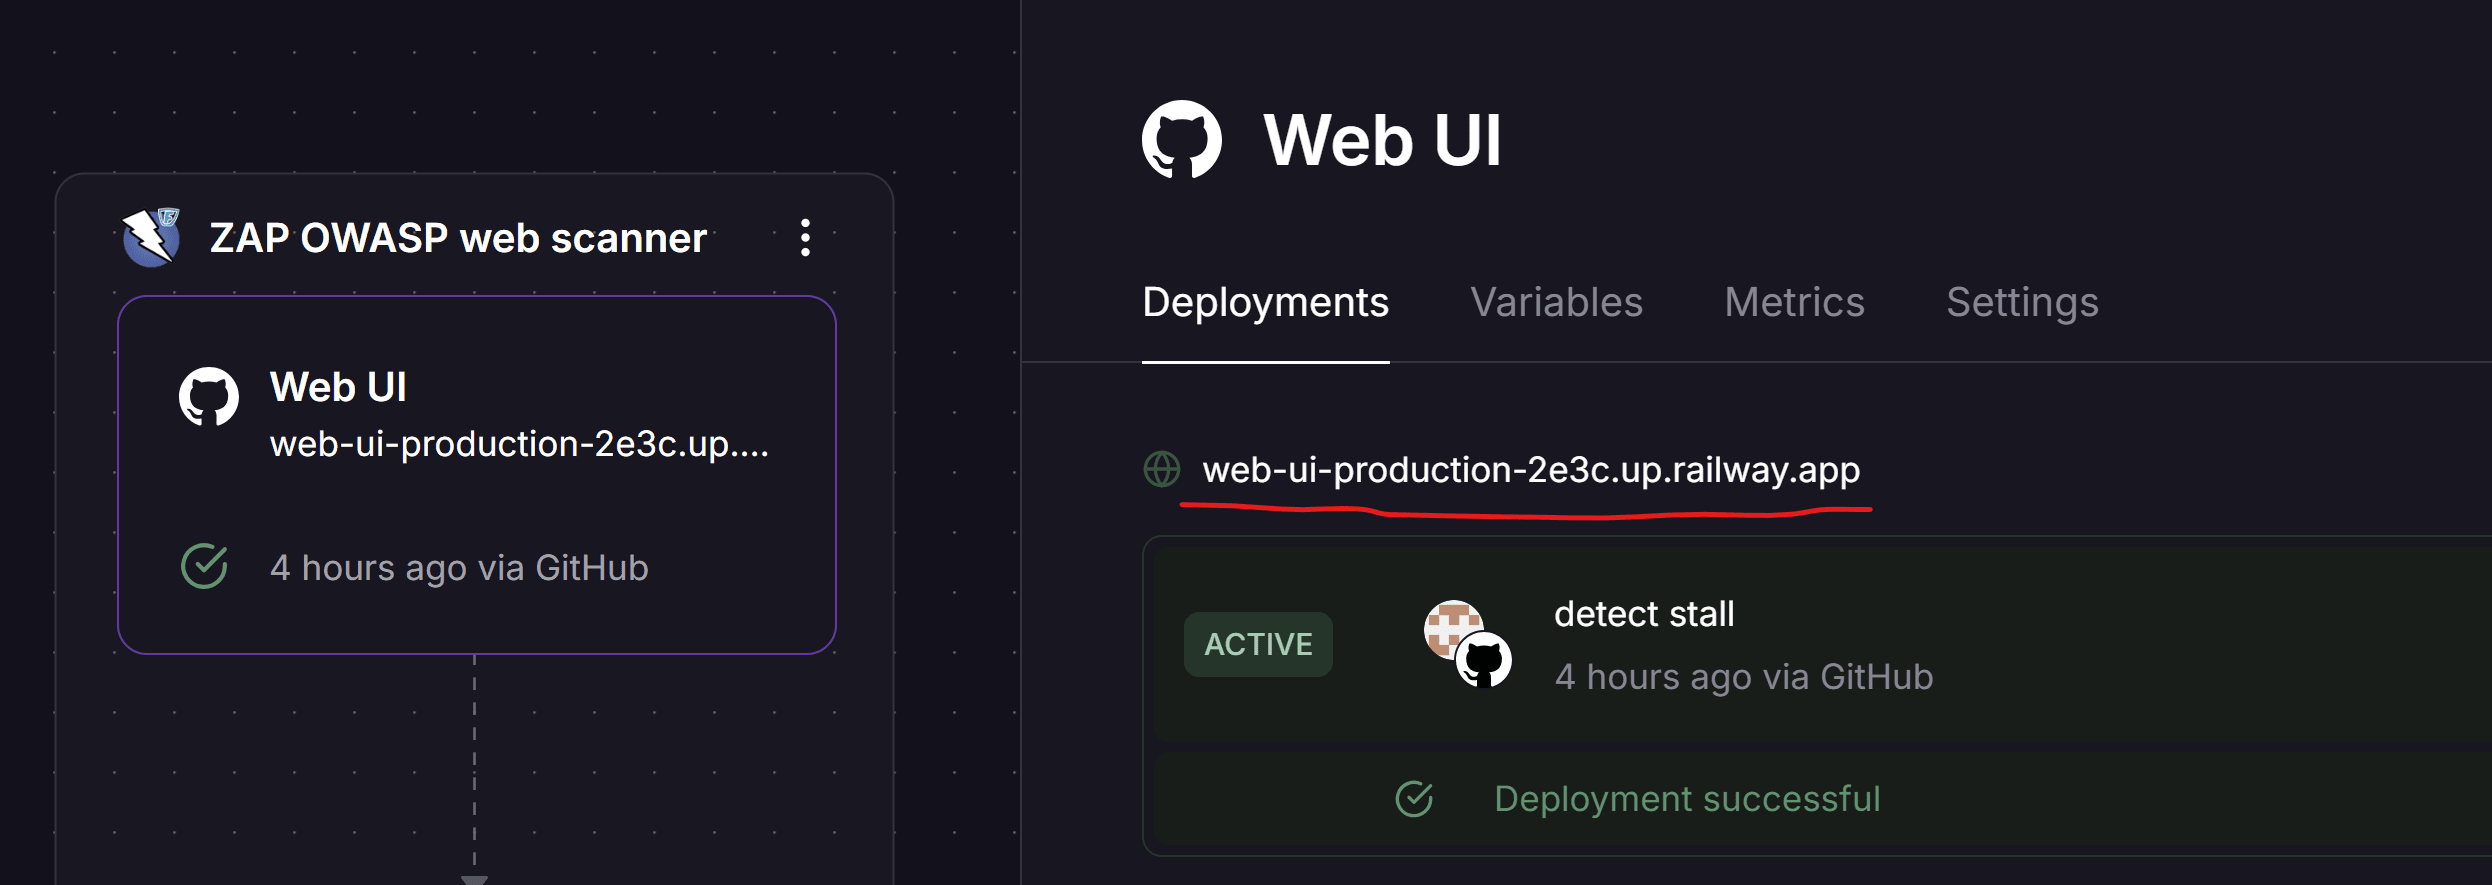
Once you start the deployment, it should take about 2–3 minutes to spin up both the Docker image and the Node.js app with the web interface. When you see green checkmarks on both services, select the one called "Web UI" and go to the "Deployments" tab. Here, you’ll find your public URL. Click it to visit your live web interface.
Local Setup Instead of Cloud
If you don’t have a Railway account or prefer not to use the cloud setup, you can easily run the app locally. Here’s what you’ll need to do:
- Run the ZAP Docker Image Locally: Ensure you have Docker installed on your machine and run the official OWASP ZAP Docker image.
- Start the Node.js Application: Clone the project repository and run the Node.js app locally.
For detailed setup instructions, please refer to the GitHub README. Once everything is up and running, you can access the web interface by visiting localhost:3000 in your browser.
Performing a ZAP Scan
Once your web UI has loaded (cloud or local), you’ll find the scan page.
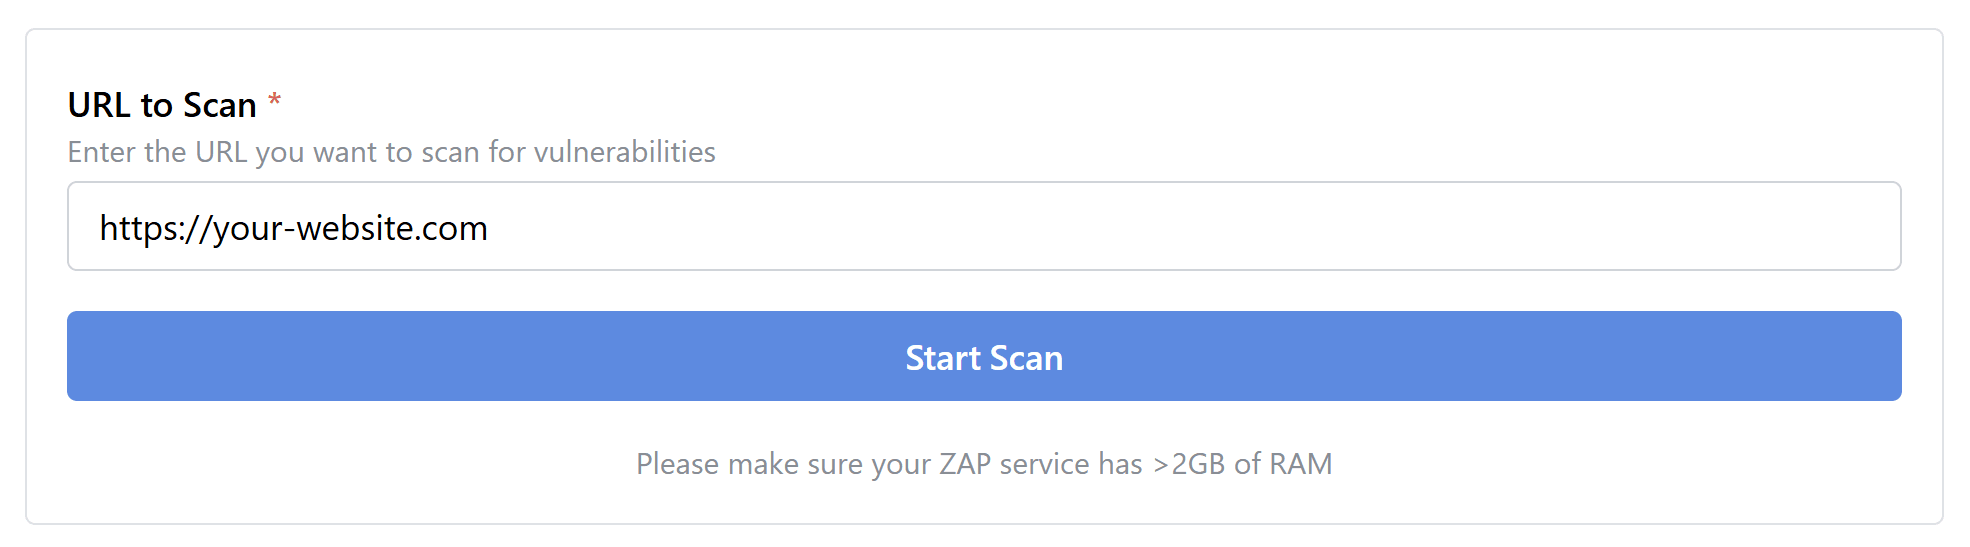
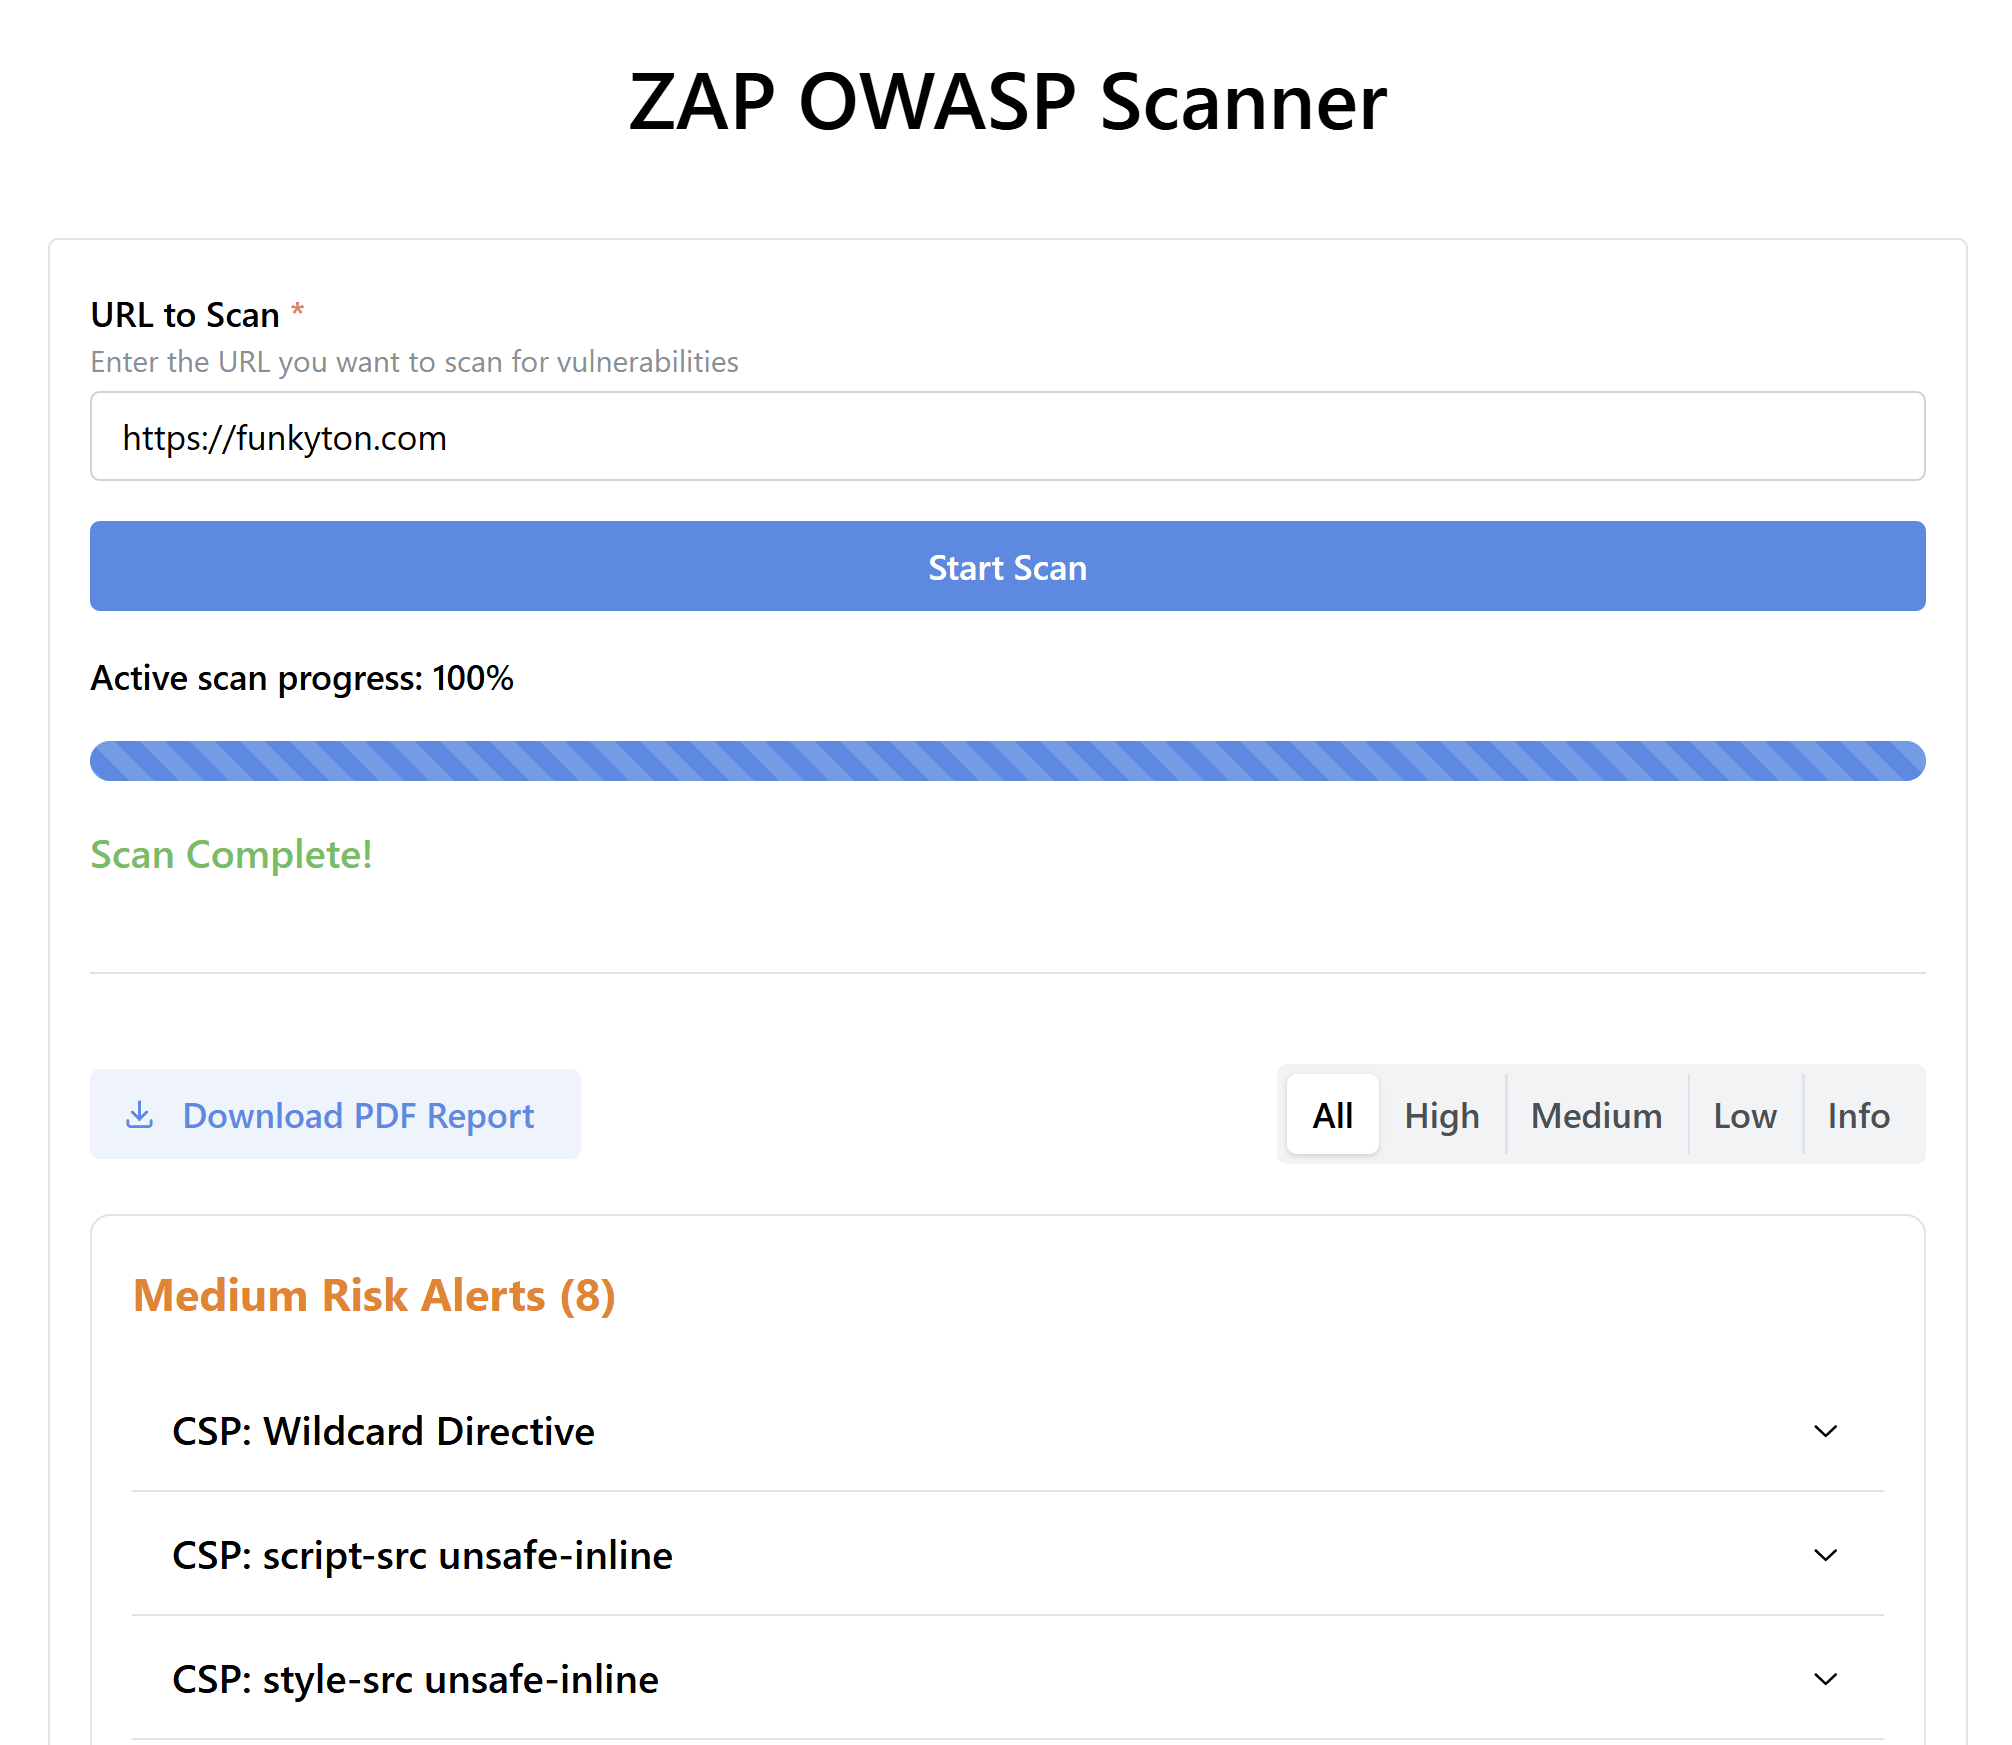
The interface is pretty straightforward: enter the URL of the website you want to scan and press the "Start Scan" button.
This triggers a request to the Node.js backend, which handles the rest. First, it caches your scan request, then it uses the ZAP API to start a spider scan. The spider scan crawls the website for links and assets, mapping out all areas to test for vulnerabilities. It’s a quick process and usually only takes a few seconds. Once completed, the web interface updates to show a progress bar.
While the progress bar is running, the ZAP software performs an "active scan". This is a more advanced operation that tests for vulnerabilities in greater depth. It’s quite sophisticated and involves techniques beyond what I can comfortably explain in this blog post, but all you need to know is that it can take some time, sometimes several minutes. Once the scan is complete, you’ll see your results immediately, as shown in the preview screenshot from earlier.
Understanding your results
The results (also called alerts) are categorized by severity, with High being the most critical vulnerability, something you should likely pay close attention to. Additionally, there are Medium, Low, and Informational alerts. However, just because something is flagged as an alert doesn’t necessarily mean it’s a security vulnerability, so don’t panic when you see alerts in your scan results. Let’s take a look at an example.

As you can see, the alert is structured in a helpful way. It not only explains what’s wrong but also provides hints on how to resolve it, or even ignore it if you determine it’s not an actual vulnerability. Here’s how the information is typically organized:
- Alert Description: Each alert represents a potential security vulnerability or issue. In this case, the alert is about the Content Security Policy (CSP) using wildcard directives, which can weaken security.
- Severity Levels: Alerts are categorized by severity: High (red), Medium (orange), Low (yellow), and Informational (blue). This helps you prioritize which issues need immediate attention.
- Description: Explains why the issue is problematic, such as how wildcard sources in CSP can introduce risks.
- Solution: Offers suggestions to fix the issue, like configuring the CSP header more securely.
- Evidence: Provides specific examples from your application that triggered the alert, such as the detected CSP configuration.
- URL Affected: Lists the URL where the vulnerability was found, helping you pinpoint where to apply fixes.
- References: Includes links to resources for further reading and understanding of the issue.
The last three points; Evidence, URL Affected, and References, are particularly useful for tracking down the source of an issue if you decide it needs to be addressed. If you encounter an alert that’s hard to interpret, I recommend copying all the text and pasting it into your favorite LLM with a prompt like:"This is a ZAP alert. Help me interpret it: <paste the alert result>" From there, you can discuss your web app’s construction with the AI to determine whether the alert needs addressing and how to resolve it. Alternatively, you can consult an external security advisor if you're still unsure, but keep in mind this option can get costly quickly.
How to become ISO 27001 compliant?
I recently went through the process of achieving ISO 27001 compliance with the company I work for in my day job. In our team, we share responsibilities, and I was assigned the task of conducting the yearly OWASP scan, something we decided to include when drafting our policy documents. While OWASP scans are not a strict requirement under the ISO 27001 standard, I can’t think of a good reason not to do them.
One of the great things about ISO 27001 is its flexibility. It’s not a rigid list of rules you’re forced to follow; instead, you define policies that make sense for your company. However, crafting these policies in a way that aligns with your organization’s needs is no small feat! Thankfully, we had significant help from CyberJuice, a company that offers frequent webinar courses on ISO compliance and provides an online platform packed with useful tools.
A standout feature of their platform is the template editor. It offers standard policy templates that you can easily customize to fit your company’s requirements. This was a huge time saver, considering you need to create over 10 documents, writing everything from scratch would have been a monumental task. With their support, it took us six weeks to complete the process. We held weekly online meetings and tackled some homework assignments in between. While I wouldn’t call the process fun, it was definitely manageable.
You’ll likely discover, as we did, that you don’t need to drastically change your routines to achieve compliance. If you’re already mindful of IT security best practices, chances are you’re doing many of the right things already. ISO 27001 is primarily about documenting those habits and routines so they’re formalized on paper. The day-to-day overhead isn’t as bad as it might seem at first.
Final thoughts
This was a fun little hobby project, building the Node.js interface app came out of a real-world task: performing a yearly OWASP scan. Since I put this together in my free time over just a couple of days, please don’t expect too much from this app. It’s nothing like the full-featured desktop application that ZAP offers for Windows, Linux, and MacOS, which includes many more advanced capabilities. However, in my case, I couldn’t install the desktop version due to Windows Defender and the security policies I work under.
Sometimes, simple is enough. While I’m only using a fraction of what the ZAP API can do, it fully meets my need to perform vulnerability scans. Looking ahead, I see potential to integrate an AI service to summarize scan results. Another feature that I would like to add, is a scheduler for auto scans, with result comparions, this way you can get notified rapidly if a new alert is discovered. These additional feature could easily be added to the project and would offer functionality that the ZAP desktop application doesn’t provide, making this "easy-to-use version" even more relevant.
I hope you enjoyed reading about this project! If you have ideas for new features or improvements, feel free to make a pull request on the Git repository and contribute. Alternatively, if you have suggestions or questions, you’re more than welcome to leave a comment below.
Disclaimer
I am not affiliated with or endorsed by CyberJuice, ZAP, or OWASP. These are personal recommendations based solely on my first-hand experience.