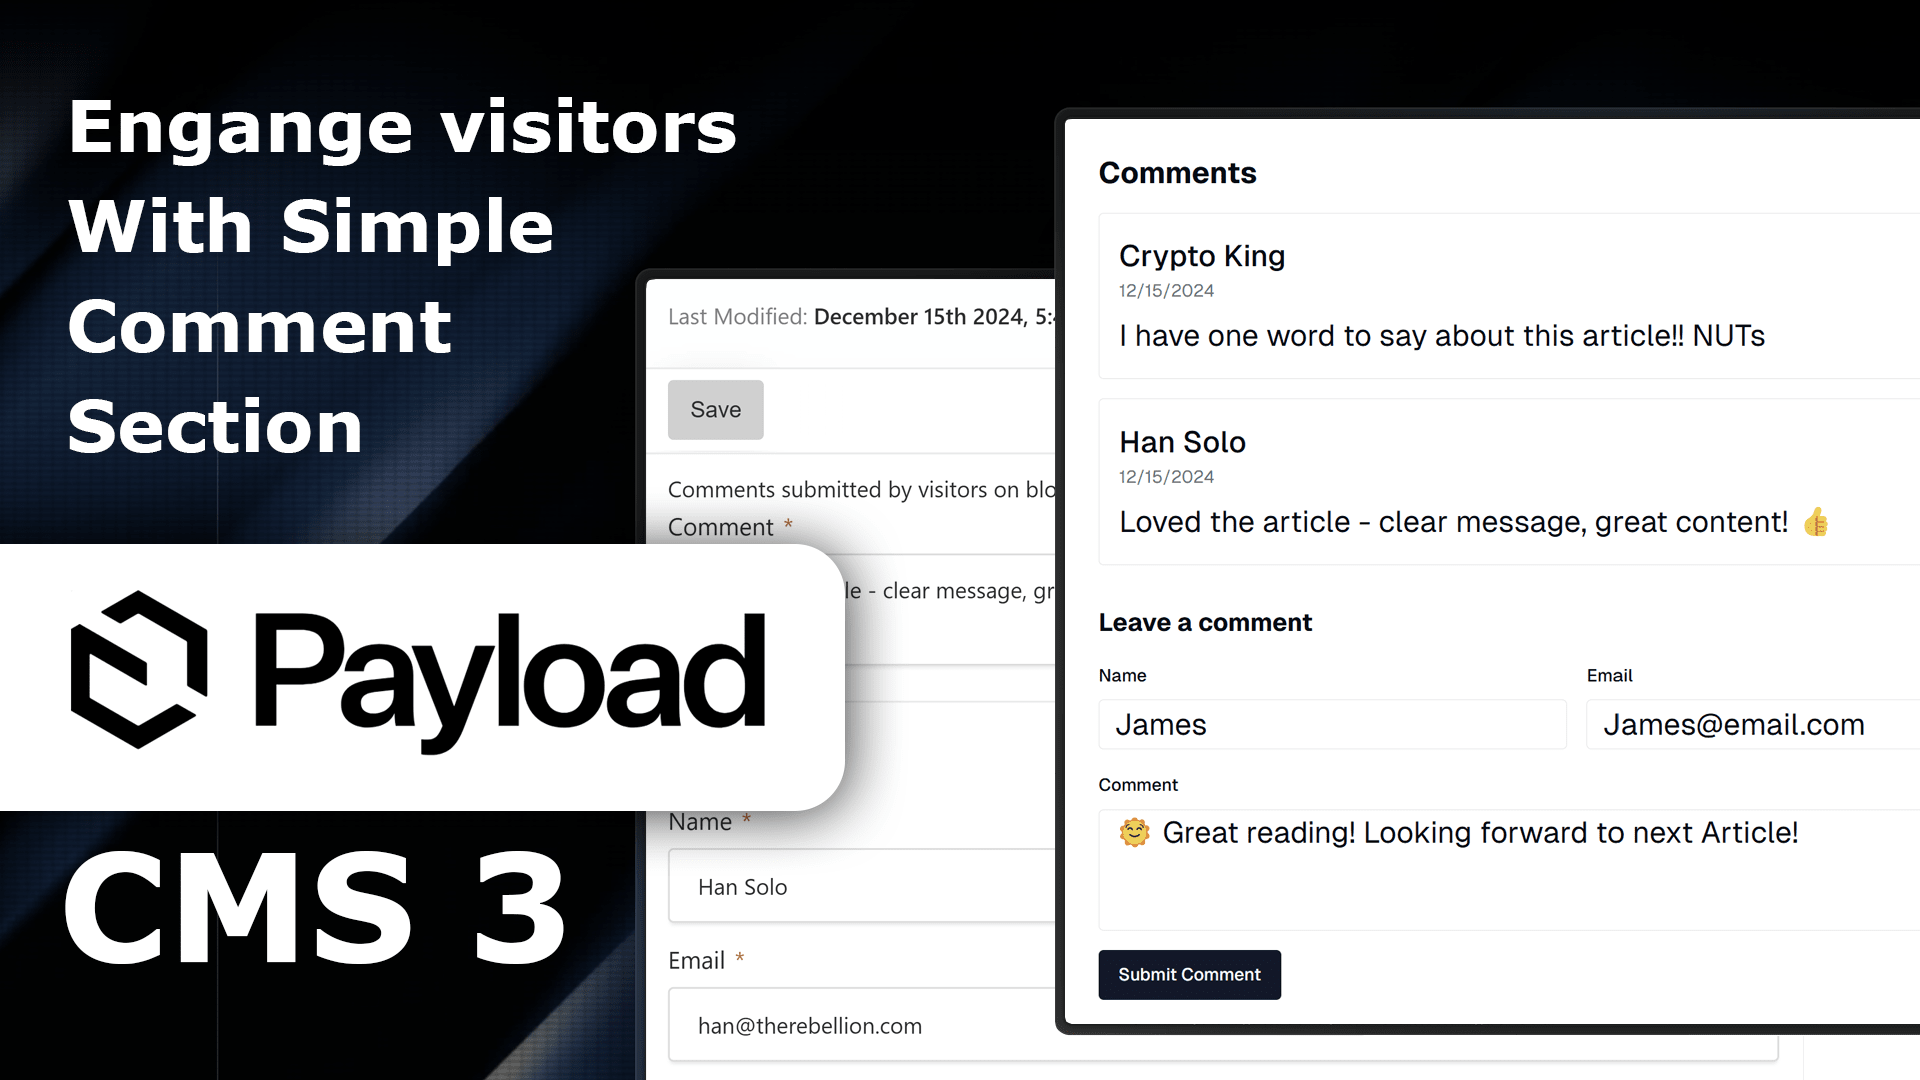
How to Add Comment Section to your Pages with Payload CMS 3
Learn how to integrate a comment system into your Payload CMS v3 project with React. This guide offers 4 simple steps for creating a server-rendered Comment List and a client-side Comment Form, making it easy to boost user interaction in your web app. Suitable for developers at any level!

Welcome to the second part of the guide where we will be implementing a comment system with Payload CMS v3! If you're eager to enhance your Payload CMS project with interactive features, you're in the right place. Before diving into this tutorial, ensure you've set up your Payload CMS using our starter template from Part I. If not, take a quick detour to get your project up and running in just five minutes, thanks to the simplicity of the Railway template. 👇

In this article, you'll find all the essential code snippets, React components (as demonstrated in the video tutorial), and step-by-step instructions to seamlessly integrate a comment system into your existing setup.
Topics covered in this implementation
- Collection -> datamodel
- React UI (server side + client side)
- Data lookup
- Auto generated types
- Auto generated API
- Simple access control of API routes
- Auto generated SQL migration
Video tutorial
1. Comment collection
Let’s start by creating the Comment Collection, the backbone of your entire commenting system. By setting up this data model template, Payload CMS will automatically generate everything you need: TypeScript types, database migrations, and fully functional CRUD API routes, all with minimal effort.
Create: src/collections/Comments.ts
import { CollectionConfig } from 'payload'
import { authenticatedOrPublished } from '../access/authenticatedOrPublished'
import { authenticated } from '../access/authenticated'

export const Comments: CollectionConfig = {
  slug: 'comments',
  admin: {
    defaultColumns: ['content', 'author', 'post', 'isApproved', 'createdAt'],
    description: 'Comments submitted by visitors on blog posts',
  },
  access: {
    read: authenticatedOrPublished,
    create: () => true,
    update: authenticated,
    delete: authenticated
  },
  fields: [
    {
      name: 'content',
      type: 'textarea',
      required: true,
      label: 'Comment',
      validate: (value: string | undefined) => {
        if (!value || value.length > 2000) return 'Comments cannot be longer than 2000 characters'
        return true
      }
    },
    {
      name: 'author',
      type: 'group',
      fields: [
        {
          name: 'name',
          type: 'text',
          required: true,
          maxLength: 100
        },
        {
          name: 'email',
          type: 'email',
          required: true
        }
      ]
    },
    {
      name: 'post',
      type: 'relationship',
      relationTo: 'posts',
      required: true,
      hasMany: false,
      admin: {
        position: 'sidebar'
      }
    },
    {
      name: 'isApproved',
      type: 'checkbox',
      defaultValue: false,
      admin: {
        position: 'sidebar',
        description: 'Comments must be approved before they appear publicly'
      }
    },
    {
      name: 'publishedAt',
      type: 'date',
      admin: {
        position: 'sidebar',
        date: {
          pickerAppearance: 'dayAndTime'
        }
      },
      hooks: {
        beforeChange: [
          ({ siblingData, value }) => {
            if (siblingData.isApproved && !value) {
              return new Date()
            }
            return value
          }
        ]
      }
    }
  ],
  timestamps: true
}
This collection defines the structure and behavior of comments in your Payload CMS. It includes fields like content for the comment text, author with name and email, and post to link the comment to a blog post. Permissions control (access) who can read, create, update, or delete comments, while admin settings manage visibility, approval status (isApproved), and publication timing (publishedAt).
2. Add collection to Payload
Now it’s time to integrate the Comment Collection into Payload CMS. This is where the magic happens, Payload will automatically generate everything you need, including database migrations, TypeScript types, and API endpoints.

