Install Plex Media Server on Raspberry Pi OS
Learn how to install Plex Media Server on Raspberry Pi OS with this step-by-step guide. Optimize your Raspberry Pi 3 or 4 for media streaming by using the lightweight Raspberry Pi OS Lite. Perfect for building a powerful, headless media server. Start streaming your favorite content today!
What you need
- Raspberry Pi 3 or Raspberry Pi 4 (better performance)
- micro sdcard min 8GB - preferably class 10 (like this one)
- sdcard reader
- putty (download from: https://www.putty.org/)
- ethernet access to your router
- ip scanner, download: https://www.advanced-ip-scanner.com/ (optional)
- basic linux terminal knowledge
Prepare sdcard with headless Raspberry Pi OS (raspbian)
We want to install the headless version of raspbian aka. Raspberry Pi OS since we are building a server and not a player. We do not need the visual GUI desktop interface, in fact we don't want to waste CPU and RAM on running that, instead we want all the resources to be dedicated to PMS (Plex Media Sever) for best performance.
Download Raspberry Pi Imager from the official raspberry pi website https://www.raspberrypi.org/downloads/
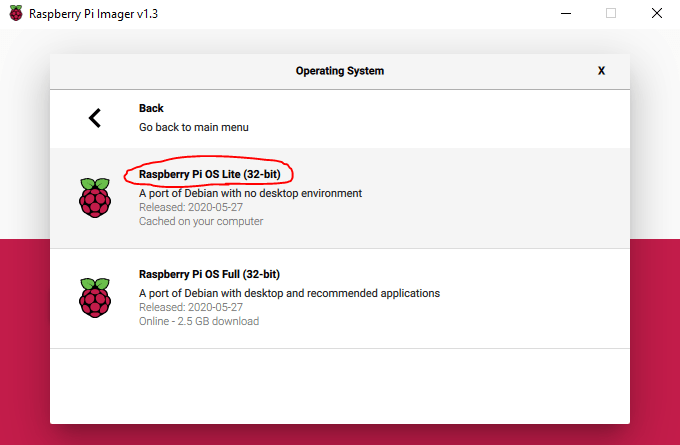
Choose OS -> Rasbperry Pi OS (other) -> Raspberry Pi OS Lite
Next choose your sdcard and finally click the Write button.
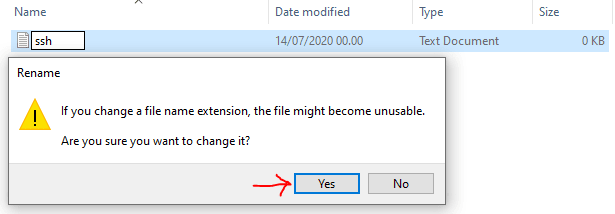
When your imager is finished writing to your sdcard take it our of you card reader and insert it again. Your operating system should recognize it as a drive, open it up in explorer (windows) or finder (mac). We need to add a empty file by the name "ssh" with no extension. This file will enable SSH so that we can access the linux terminal over LAN with putty.
Now the sdcard is ready. Insert it in your raspberry pi, connect it to your router with ethernet cable and finally connect the power supple to run it on. Note: it is possible to make it work over WiFi as well, but it is far less stabel and quite a bit more complicated to configure, if you for some reason MUST use WiFi, I suggest using google to find a recent guide on how to connect with WiFi and the moving on with the rest of this guide when you are connected.
Log in to your new Linux installation through SSH (putty)
After booting up eventually your device will get an IP from your router so that we can access it remotly. Next thing up is to find out what ip has been assigned to your pi. I'm using advanced ip scanner to find the ip of my pi, but you can also login to your router and see a list of connected devices. Copy the ip and open a ssh connecting with putty.
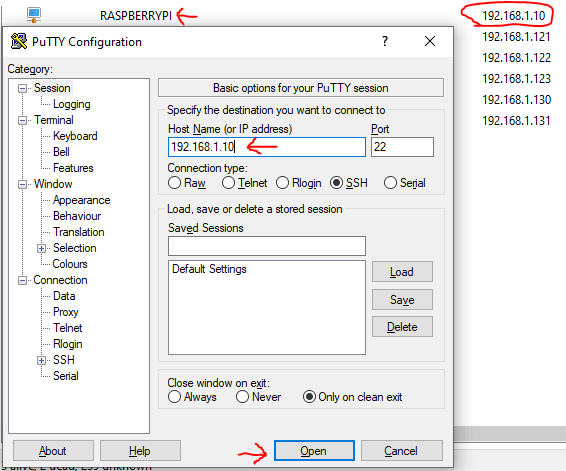
Your default username: pi
And password: rasbperry

Install PMS (Plex Media Server) on linux/Rasbperry Pi OS
Let's make sure we are up to date, run the follow two commands. (This might take a while)
sudo apt-get update
sudo apt-get upgrade -y
We need to add the https transporter to be able to install packages over secure connection run:
sudo apt install apt-transport-https -y
Now let's add the plex signing key and repo
curl https://downloads.plex.tv/plex-keys/PlexSign.key | sudo apt-key add -
echo 'deb https://downloads.plex.tv/repo/deb public main' | sudo tee /etc/apt/sources.list.d/plexmediaserver.list
Install PMS (Plex Media Server)
sudo apt update
sudo apt install plexmediaserver
Visit your personal Plex Media Player for the first time
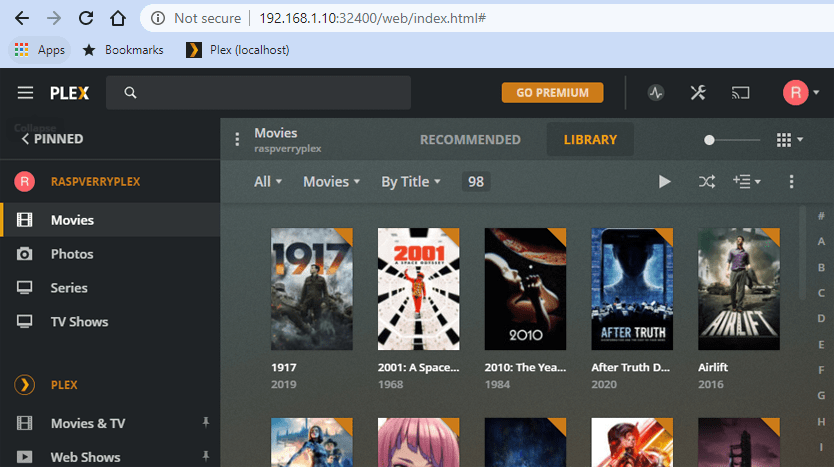
Now you are good to go, you should be able to access your Plex instance from any device connected to the same local network as the PMS is running on.
Go to:
http://192.168.1.10:32400/web/index.html
You should meet a setup wizard which should be fairly easy to follow, but then you are all set.
Please read next article which will help you configure your Plex media library and setup network storage that you can access from all of your devices.
